Hi all!
If you are just getting interested in scrapbooking, here are some scrapbook designs, ideas, information and tips on what you will need to begin.
Paper
- Firstly, all papers used for scrapbooking should be acid and lignin free.
- All sizes for scrapbooking are in inches. The most common paper size is 12 x 12 inches or 30.5 x 30.5 cm. There are other sizes available such as 8-1/2 x 11 inches or 21.5 x 27cm.
-
Cardstock
is available in many plain colors (brights, neutrals and pastels ). It is a thick sturdy paper to hold your photo layouts, decorations and embellishments. More recently, attractive cardstock pads (Paper Stack with Glitter
) have become available with some nice designs, which require less decorative effort if that is what you prefer.
- There are many lovely Patterned Papers
available which are acid and lignin free. Photographs can be matted with plain colors to stand out against the patterned paper, and this will highlight your photos.
- Pain colored papers also come in Scrapbook Paper Packs
in assorted colors of Pastels, Neutrals and Brights. These are very economical and easy to team up with the lovely patterned papers that are available.
Adhesives
- All adhesives used for scrapbooking must be acid and lignin free and are so marked. There is a wide variety of these available such as bottled glue, Glue Sticks
(very popular, easy to use and great with kids), glue dots and silicone glue, as well as other variations.
- Double sided Self-Adhesive Squares
which come in a box or Dispenser
are easy to use. Many of the self adhesive photo squares are quite forgiving. If you have already placed the photo down and find it is not quite where you want it, with some gentle coaxing, these adhesive squares will allow you to remove the photo and carefully realign it again on your page, without damage to your layout.
- Photo corners come in handy at times, while photo tape which has a peel-off backing can also be used. Double sided tape is very handy for sticking heavier items onto pages, such as small booklets or maps from your travel trips.
Journaling
- There are several varieties of pens available for journaling. I prefer the monoline type for my scrapbooking which have a nice fine tip, and also the Gel Pens
. You may also like to use calligraphy, brush or scroll pens. A red-eye pen comes in handy to remove the red from people’s eyes in photos, if you don’t have any success removing the red-eye when printing your photos out.
- Journaling can also be done on your computer. This gives you a choice of many fonts and colors to combine with your layouts. I find this a very satisfactory method.
- Scissors are an essential item for scrapbooking; you will need a sharp sturdy pair.
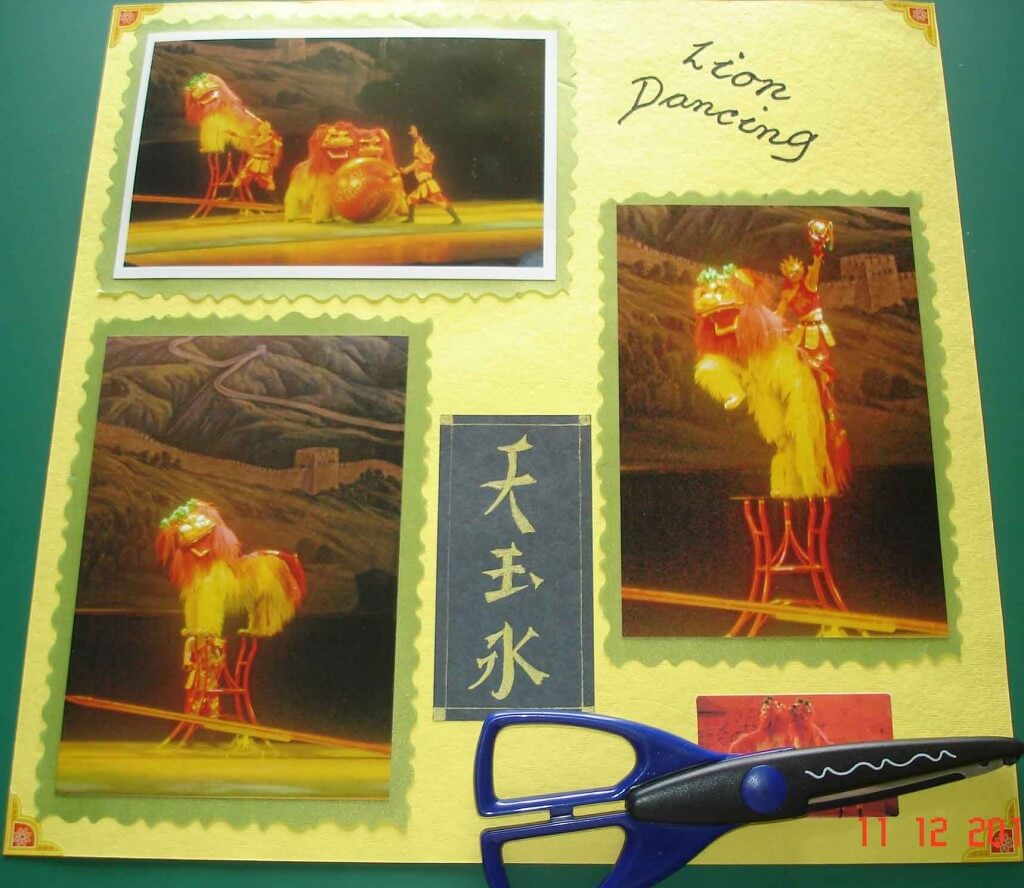
- There are also many fancy scissors available (like a dressmaker’s pinking shears) which make nice patterned edges on your paper or around the mats.
- A small pair of craft tweezers can also come in very handy when removing stickers from their backing.
- If you are just starting out you will need a Cutting Mat
to work on, and a craft knife
for cutting out the mats to highlight your photos and for trimming photos.
- A better option once you start doing a lot of scrapbooking is to purchase a Paper Trimmer
. This is a very time saving device and provides neat clean cut edges. It is a worthwhile investment and is relatively inexpensive (around $20).
Page Protectors
-
Page Protectors
are an essential part of Scrapbooking to protect your photos and completed work. Page protectors should be made from polypropolene, polyethylene or polyester plastics. Do not use products made from PVC, as chemical plasticizers used in the manufacture of PVC may leach out over time, and this will damage your photos. Look for protector pages marked Acid Free, Lignin Free and PVC Free.
- When working on a layout, if it is not completed in one session, it pays to use a page protector while the work is in progress. This protects your layout from unnecessary dust or fingerprints (especially if you may have young children about).
Scrapbooking Albums are a personal taste of design and style.
The are a a number of different types of scrapbooking albums available including a three ring binder variety, the screw post type
(Postbound) which allows you to add extra posts for expansion, and a more recent addition is the Snap Load Album
.
Personally, I like the snap loading variety which allows you to load from the front or back of the album, as you need to add pages with this simple snap lock feature. It also allows for fuller and easier expansion of your scrapbook album and it holds your album together very firmly.There is a scrapbook & photo album retro fit Kit
out now, which allows you to convert your screw post album to a snap load album. This provides a much quicker way to add or change your sheets around, eliminating those troublesome screws.
There are also Scrapbooking Page Kits
available if you have a particular theme in mind when you start, such as a new baby, a wedding, Christmas, friends etc. The Kit provides appropriately designed paper, stickers and other embellishments for the theme, and are very useful kits, particularly if you are new to scrapbooking.
Then, just add your favorite photographs
Last but not least you will need your favorite photos, children, grandchildren, your garden; holiday snaps etc. The sky is the limit here.
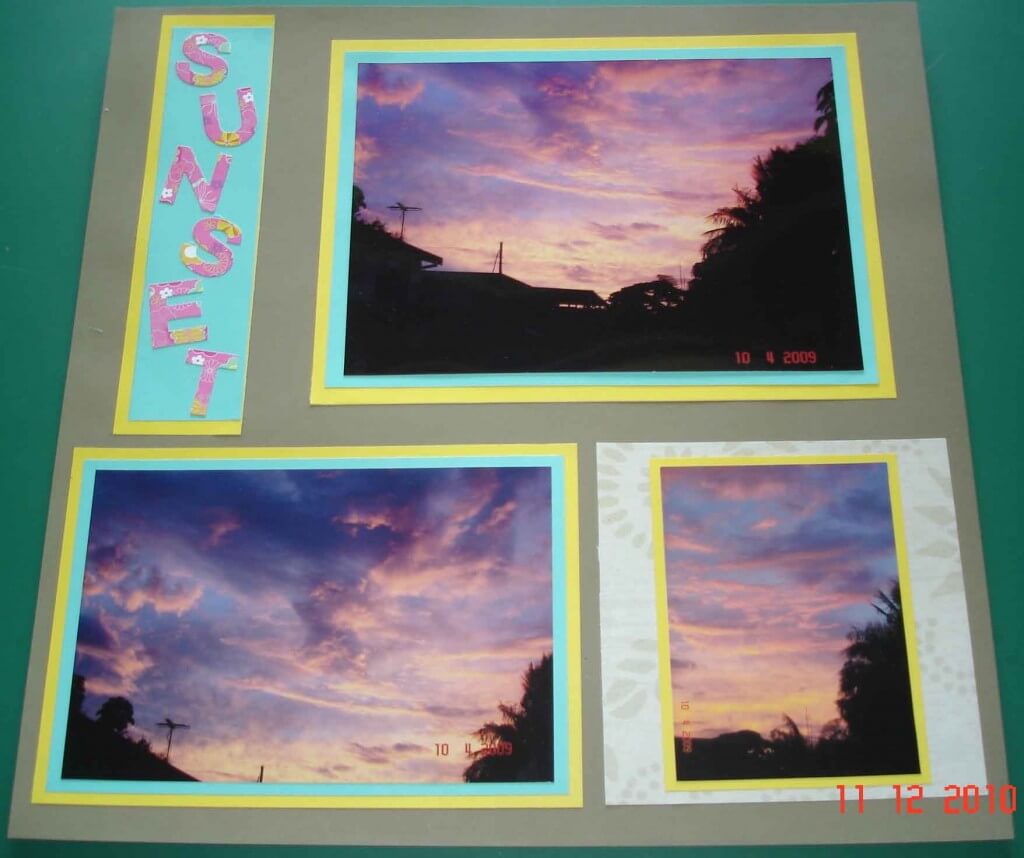
Sunset–‘the skies the limit’. Plain khaki scrapbook paper with plain and patterned underlays. Cre8iv Alpha Stickers. Scrapbook designs and tips.
Hey Lyn,
I love the work you’ve been doing – it;s good of you to share your insights with everyone else. Keep it up!
Hi Simon, Thanks for your comments. Lyn
I like doing this with my son it’s like at school when we were 10 years old.
Thank you Lyn
Hi George, Scrapbooking can be very enjoyable with ones children. Thanks for your comments.
hi, nice work…this site gives me a lot of idea in Scrapbookisg,…a part of my assignment
Hi Angel, glad the article was helpful. Thanks for your comment.